
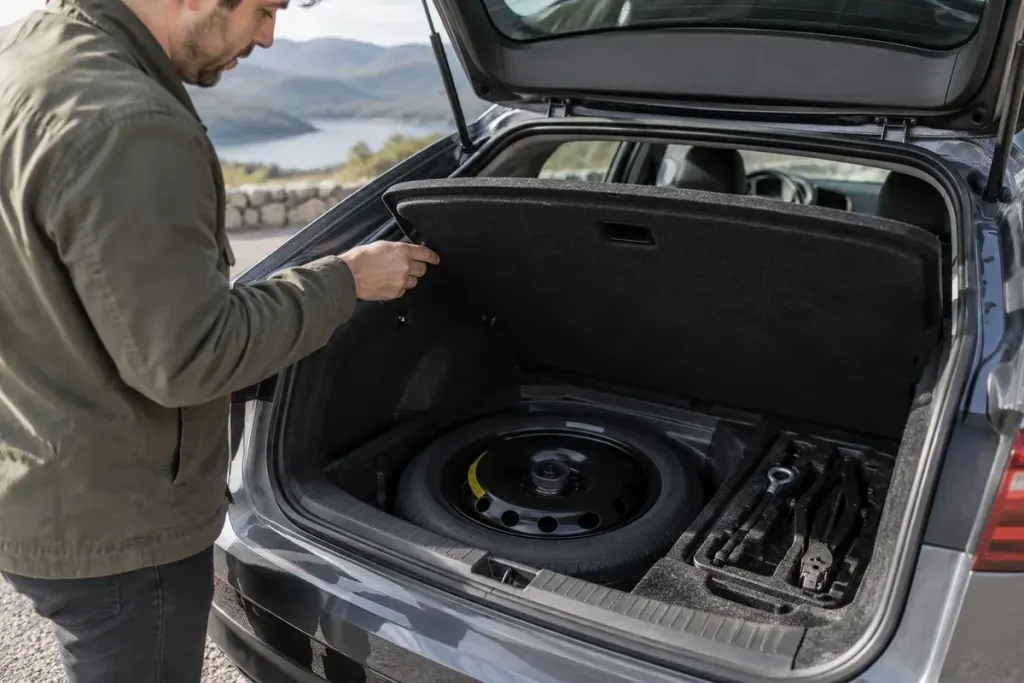
Lift the boot floor before packing the car. The space beneath may contain a full-size spare, a temporary wheel, a repair kit—or none of those. Knowing which arrangement you have changes what you can reasonably do after a puncture.
A parked-car check
- Identify the supplied equipment against the vehicle handbook.
- Inspect the spare’s visible condition and check its specified pressure when cold.
- Find the locking-wheel key if the vehicle uses locking fasteners.
- Check the sealant’s expiry date and the repair kit’s instructions, if fitted.
- Make sure the equipment is secured again after checking it.
A temporary spare may have speed, distance and fitting restrictions. Those limits come from the vehicle and tyre instructions, not from the fact that the wheel seems to fit. A sealant kit also has limits: it is not a universal repair for sidewall damage or a badly damaged tyre.
Try locating the handbook’s lifting-point illustration while at home. This is preparation, not an instruction to practise lifting a vehicle without the correct equipment and knowledge. The wrong jacking point or unstable ground can create a much more serious problem than a flat tyre.
Now imagine the boot fully loaded. Can you reach the kit without placing luggage beside moving traffic? Rearranging a bag before departure is easier than doing it on a roadside. Keep roadside-assistance details accessible offline as well as on your phone.
If a puncture happens in an unsafe location, prioritise people and follow local road-safety guidance. Do not attempt a wheel change merely because you own a jack. A successful pre-trip check gives you a realistic option—including calling for help—rather than a false sense that every tyre problem is a quick DIY job.